
“This Reuse Paper Cup Rocket Craft is a fun and easy way for kids to learn about science, art, and recycling. With just a few items, you can make a paper cup rocket. It’s a cool way to show kids how to recycle and have fun. Let’s make one together!”
Materials Required
- Paper Cup(Red)
- Wooden sticks
- Tape
- Rubber band
- Glue
- Colored Paper(Red, Blue)
- Scissors
- Black Marker
Procedure Step 1: Preparing Colorful Paper Cups
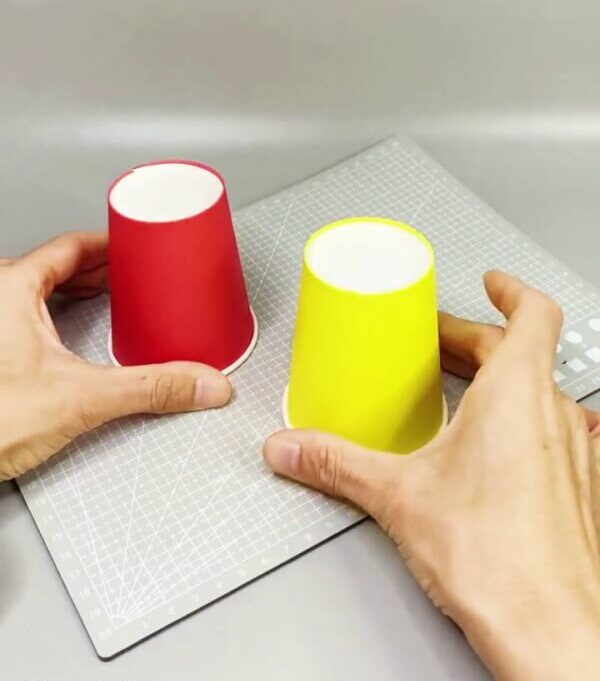
Start by selecting a colored paper cup.
Step 2: Creating a Hole at the Top
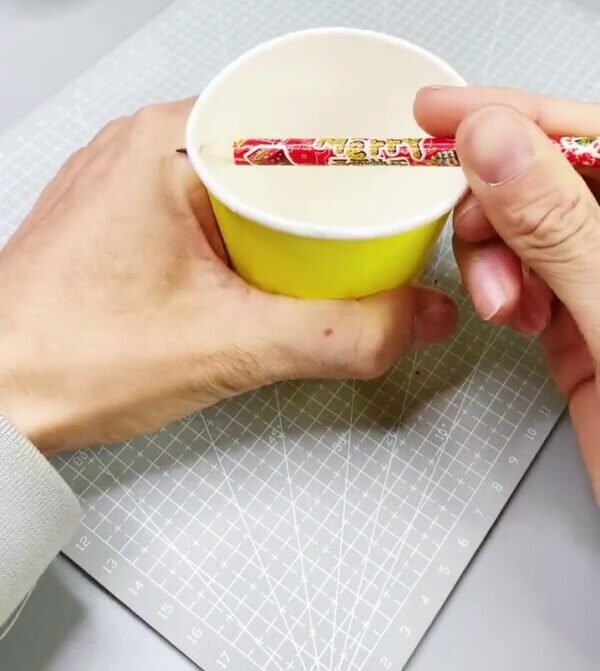
Using a pencil, puncture holes on the top of the paper cup on both sides.
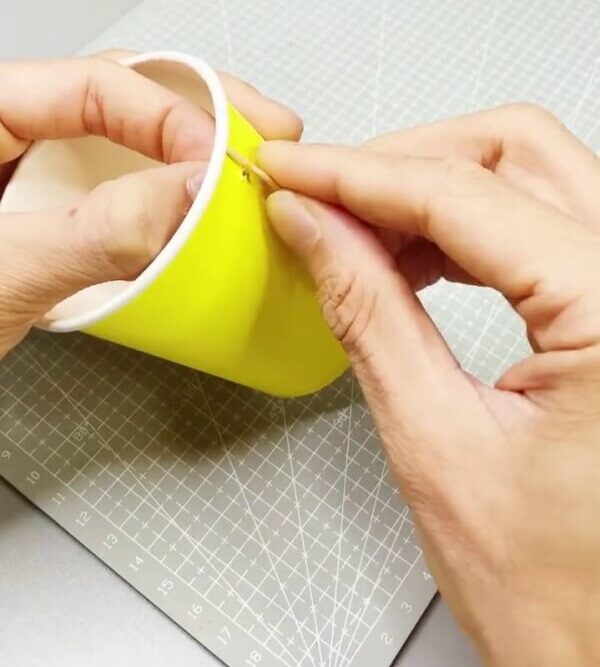
Step 3: Thread the Rubber Band Through the Holes
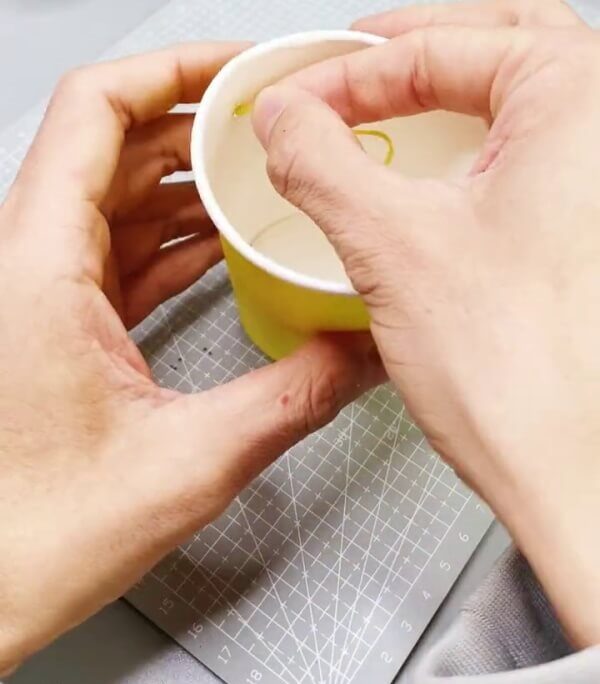
Put the rubber band inside the cup and feed it through the hole, following the illustration.
Step 4: Placing a Small Wooden Stick Through the Rubber Band
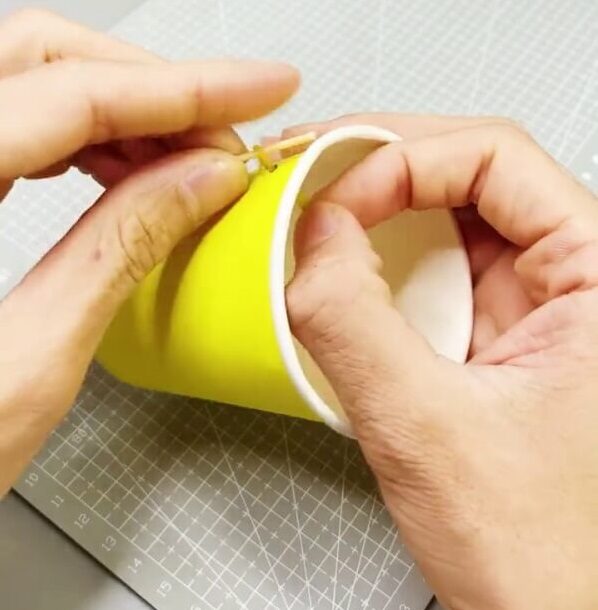
Grab a small wooden stick and push it into one end of the rubber band.
Step 5: Inserting the Wooden Stick into the Opposite End
Now, replicate the previous steps and introduce another stick into the opposite end of the rubber band.
Step 6: Fastening the Ends with Tape
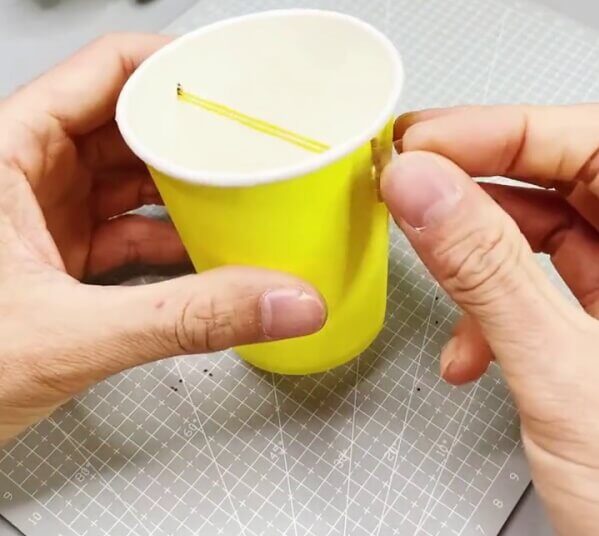
Next, use tape to firmly secure the ends of the sticks on both sides.
Step 7: Crafting a Red Semicircle
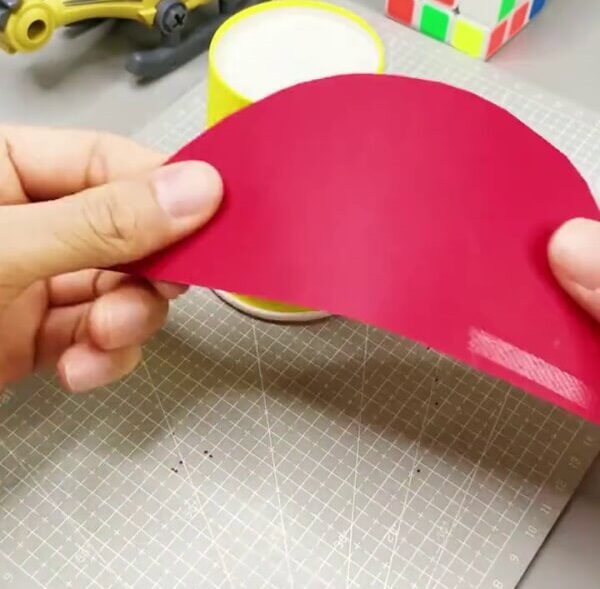
Using a red paper piece, cut out a semicircle shape. Apply glue or tape along one half of the diameter.
Step 8: Affixing the Red Semicircle to the Ends

Now, bring both ends of the semicircle together to create a cone shape, following the example in the image.
Step 9: Adding Glue to the Bottom of the Paper Cup
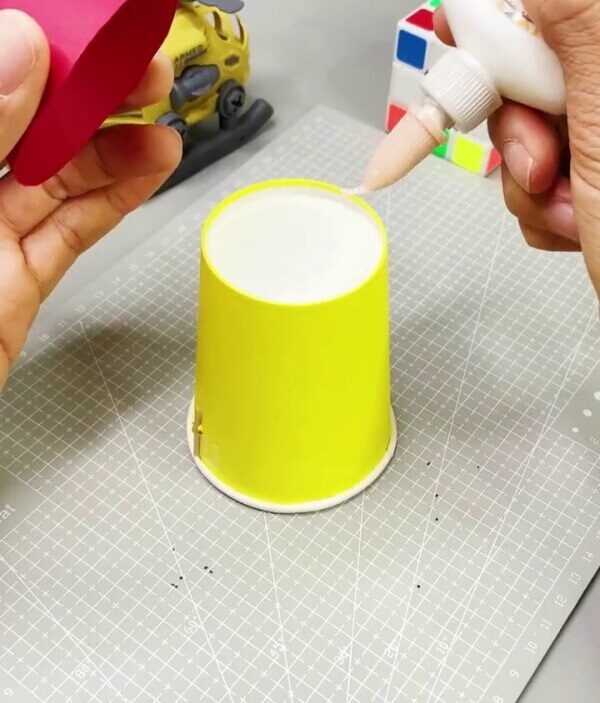
Turn the yellow paper cup upside down and coat the bottom with glue.
Step 10: Affixing the Cone onto the Paper Cup
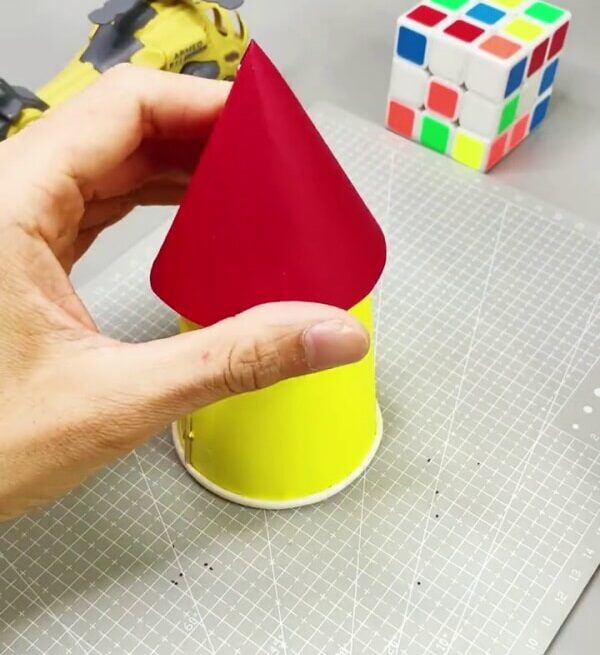
Now, adhere the red cone to the paper cup as demonstrated.
Step 11: Attaching Rocket Wings to the Wooden Stick
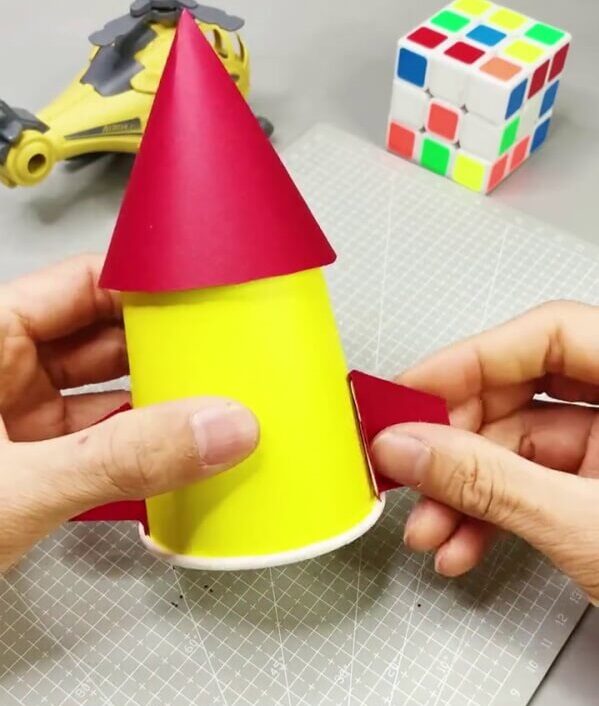
Use red paper to cut out two wings, following the image. Attach these wings to both sides of the sticks, as illustrated.
Step 12: Applying a Blue Circle to the Rocket
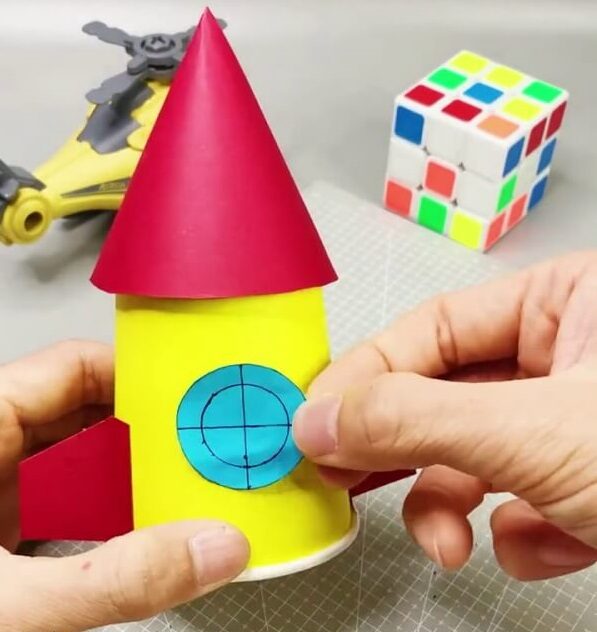
Grab a piece of blue paper, cut out a small circle, and use a black marker to draw a horizontal and vertical line on it. Additionally, draw a smaller circle within it. Affix this decorated circle in the center of the rocket’s body.
This marks the completion of our Paper Cup Rocket Craft, presenting the final result!
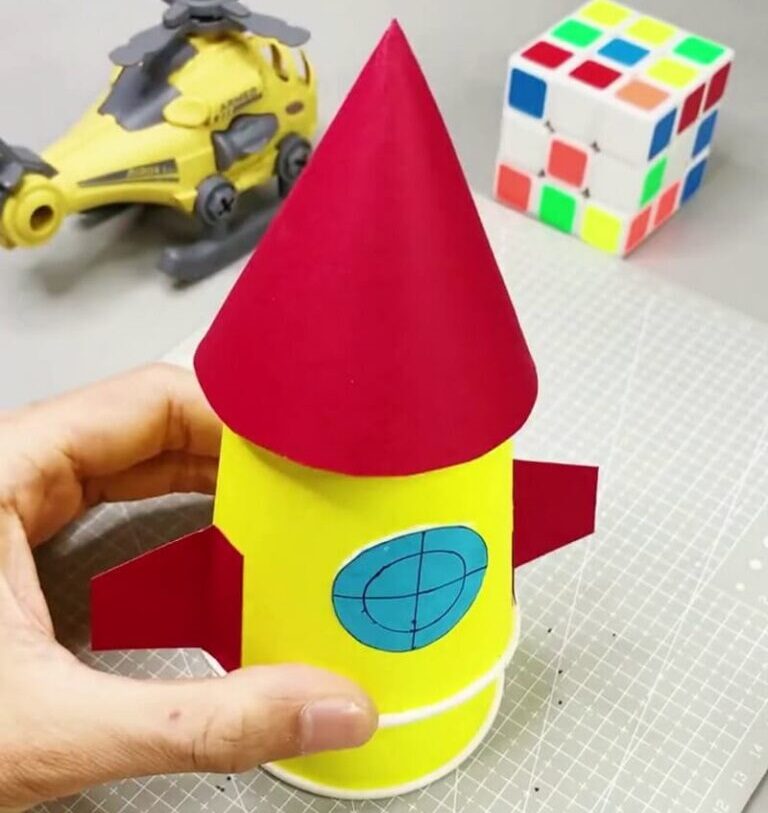
Congratulations! You’ve successfully finished crafting your very own paper cup rocket. With just a few basic materials and a touch of creativity, you’ve crafted something that’s bound to delight your children.
This paper cup rocket craft offers an enjoyable and imaginative approach to delve into the world of rocket science and engineering. It’s an engaging activity suitable for both kids and adults, promising hours of enjoyment and educational exploration. The completed paper cup rocket is sure to bring a smile to any space enthusiast’s face! Enjoy the adventure!
Find The video in TikTok
Leave a Reply